
Trees provide so much beauty and benefit to our lives. Planting a tree in your yard is an investment in its future. It could one day shade your house and reduce your cooling bill, provide a favorite spot for the kids or grandkids to gather. It might even be home in a game of tag. Meanwhile, it’s cleaning the air and beautifying your yard. In this article, we’ll outline the nine easy steps for proper tree planting, so your tree will have the best start possible.
9 Simple Steps to Planting a Tree
Planting a tree is an easy way to enhance your landscape at your home or business. Ensure that your tree will grow with your business or your family, providing decades of enjoyment, by following these simple steps to planting a tree:
1. Carefully Select the Right Tree and the Right Spot
Choose a tree that will grow well in your climate and region. Consider, too, how tall the tree will grow and its root system. You’ll want to make sure that it has plenty of room for a mature canopy and root system, without interfering with any other trees, shrubs, walkways, or structures.
2. Dig a Square Hole
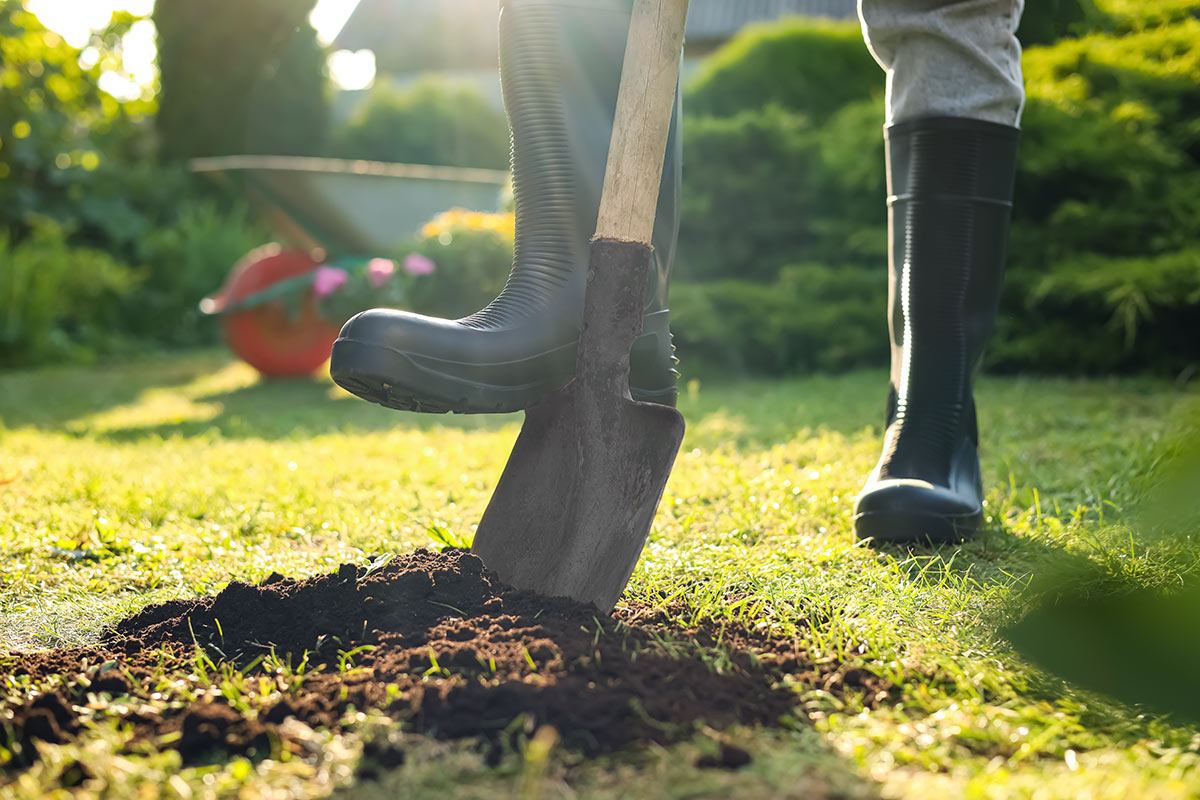
When digging the hole, aim for square rather than round. It’s best to dig the hole only as deep as the root ball is tall, or maybe an inch deeper. One of the biggest reasons why new trees do not survive is being planted too deep. Continue digging out the sides until your hole is roughly three times as wide as the root ball’s diameter. Measure your hole again before moving onto the next step.
3. Lightly Trim, If Needed
Some trees, especially those that have been hanging out in the retail nursery too long, can have some dead roots or branches. If this is the case, carefully trim only the dead bits, to give your new tree a better chance of survival.
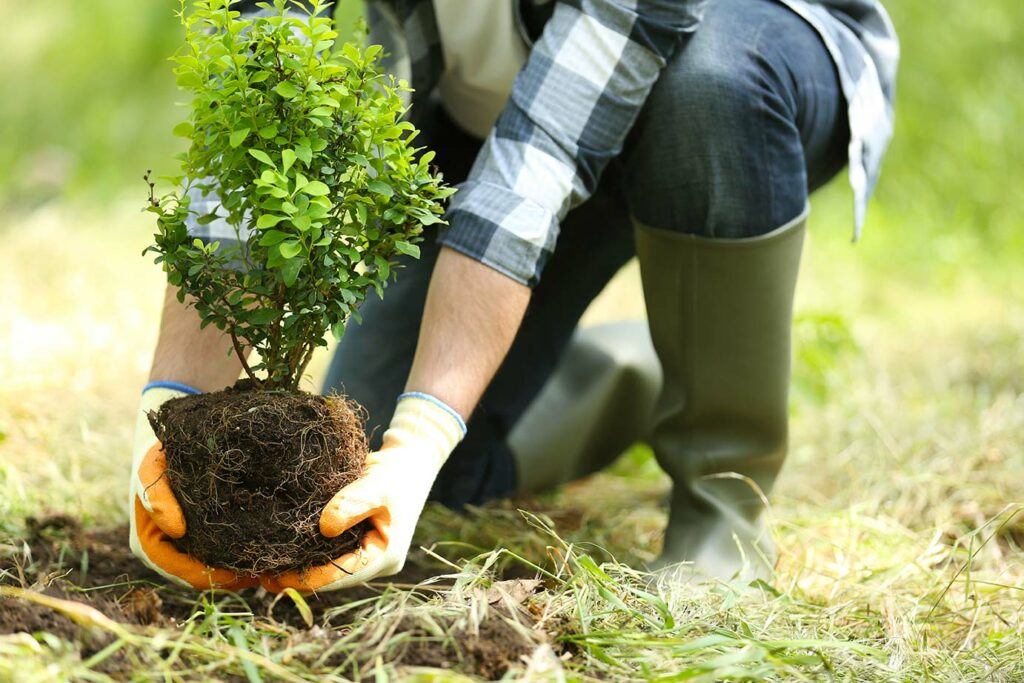
4. Plant Tree
When moving the tree to the hole, it’s best to handle it by its root ball or its container, rather than by its trunk. Once it’s in the hole, gently remove as much burlap or other foreign material as possible. Make sure that the top of the root ball is level with the ground adjacent to the hole.
5. Backfill
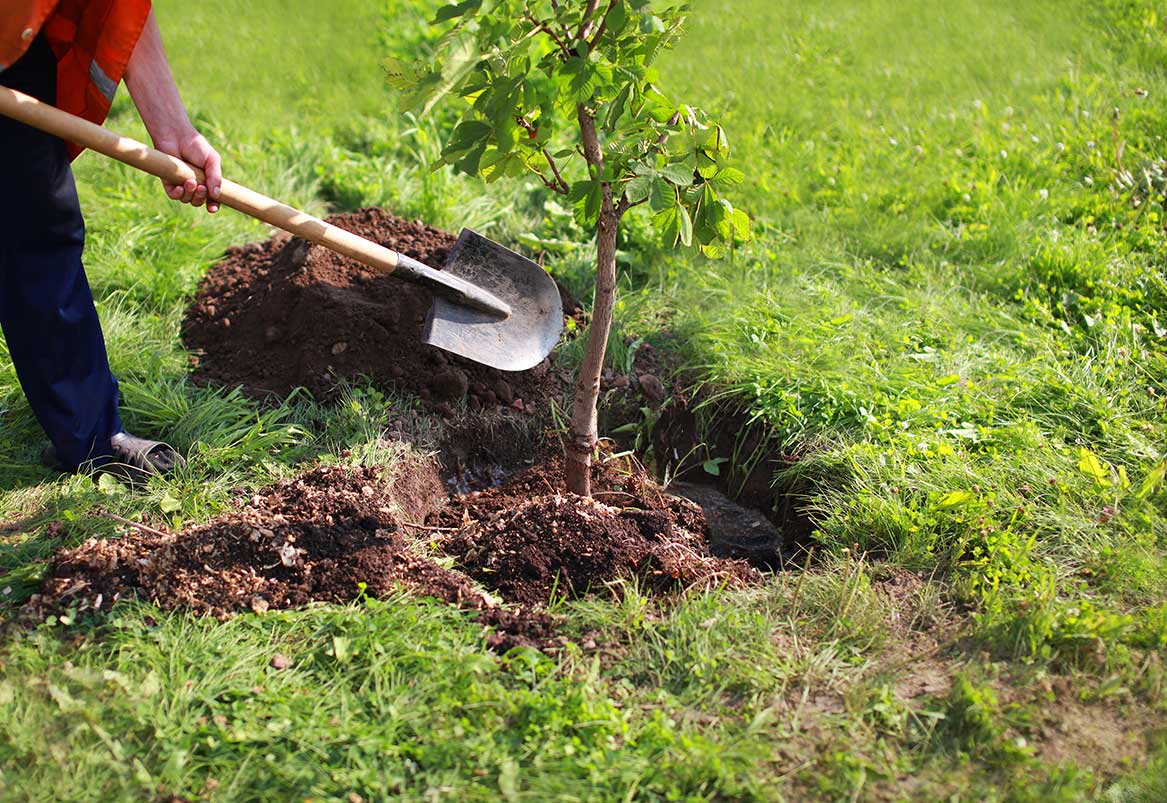
Gently add the soil you dug out back into the hole, without tamping down or packing, which can cause damage to the fragile roots. The first watering (step 8) will help the soil to settle. It’s important to only add the same soil back into the hole, without any fertilizer or amendments.
6. Stake as Needed
To provide more stability in its early stages, you may want to stake the tree for six months, but for no longer than a year. By then, its root system will be able to keep it steady and allow it to grow naturally, building strength to withstand the elements. However, staking a tree, if not done properly, can damage the root ball, so it may be best to have an arborist place the stake for you. If you do it yourself, ensure that the stake is driven far deeper than the root ball and runs through it, between roots. When attaching, use zip ties or gardener’s tape and ensure that the tree has room to sway in the wind.
7. Mulch
This is an incredibly important step to ensure that your newly planted tree is retaining the moisture when you water. However, over mulching, or covering the trunk or root flare, can be much worse than not mulching at all. You don’t want to trap the moisture on the root ball or trunk as it can provide a breeding ground for disease and decay. Instead, think of it as a moat around the castle, keeping the moisture within easy reach of the roots.
8. Water
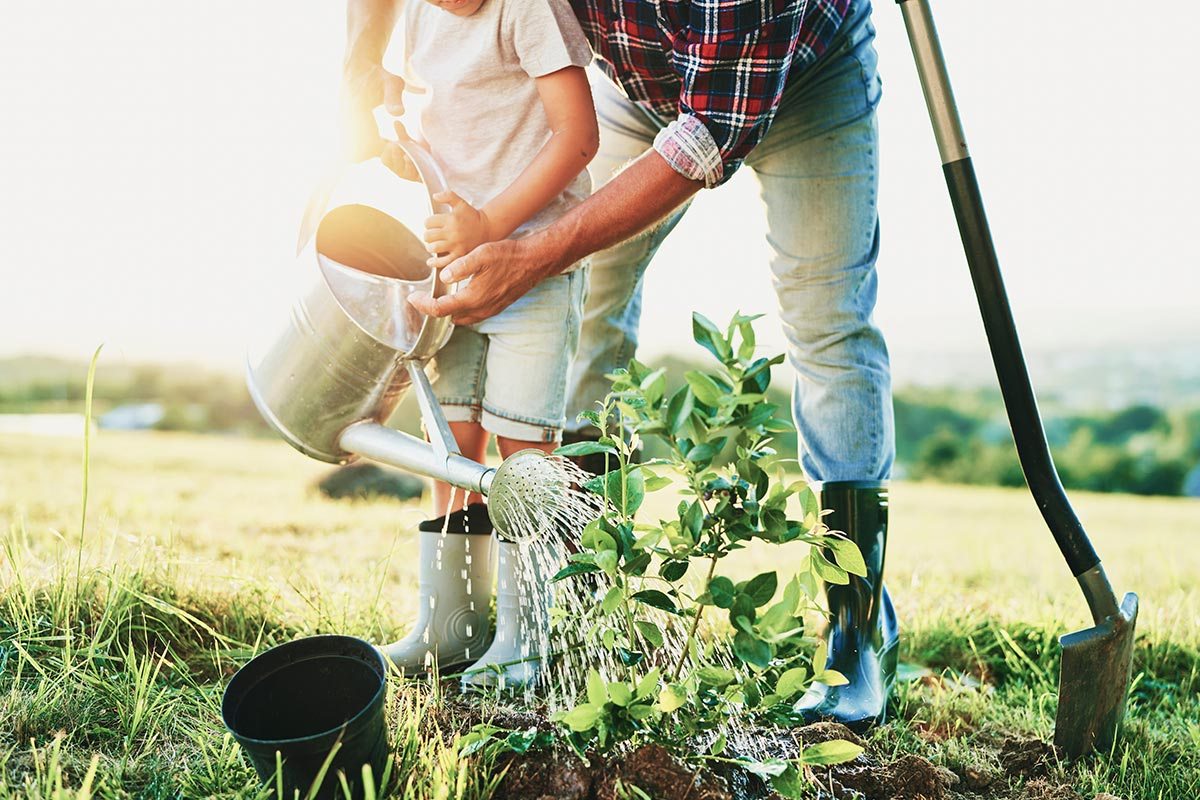
When you water for the first time, it will help to settle the soil that you correctly did not pack down. Trees prefer a good soaking over more frequent sprinklings. For the first couple of years, you’ll want to water your tree weekly with 6-8 gallons per inch of trunk diameter. Unless drought conditions are present, you can stop watering the tree altogether after a couple of years.
9. Cage as Needed
Some young trees are like catnip for certain critters. If you live somewhere where rodents or deer could be a problem, you may want to build a barrier around the tree to protect it until it gets established. This is most commonly done with hog wire or mesh around stakes that are placed beyond the root ball.
Schedule Routine Tree Maintenance for the Health of Your New Trees
It’s not recommended to fertilize your tree during the first year after planting. However, you will want to mark your calendar for things like checking the mulch and drainage, fertilizing, inspecting for pests and disease, removing stakes and cages, etc. as your tree matures.
Turn to the Experts at Vintage Tree Care

Planting a tree is a fabulous way to transform your yard. With these simple steps, you can avoid common tree-planting pitfalls and look forward to shade and beauty for years to come. If you find that you need help with tree trimming, or have any other tree care concerns, the certified arborists at Vintage Tree Care are ready to help.
For over 25 years the certified arborists at Vintage Tree care have been providing personalized care to customers throughout Sonoma County. Contact us online or by phone at (707) 495-4686 to learn more about our arborist services today.